IOC(xml bean 管理)创建对象,DI注入基本属性
什么是IOC
- 控制反转,把对象创建和对象之间的调用过程,交给Spring进行管理
- 使用IOC的目的:为了耦合度降低
- 入门案例就是IOC实现
IOC底层原理
xml解析、工厂设计模式、反射
IOC(接口)
- IOC思想基于IOC容器完成,IOC容器底层就是对象工厂
- Spring提供了IOC容器实现两种方式:(两种接口)
- BeanFactory:IOC容器基本实现,时spring内部的使用接口,一般不提供开发人员进行使用
- 加载配置文件时不会创建对象,而是在获取(使用)的时候才会创建对象
- ApplicationContext:BeanFactory接口的子接口,提供了更多更强大的功能,一般是由开发人员进行使用
- 加载配置文件的时候就会创建对象(在配置文件中配置的对象)。
- BeanFactory:IOC容器基本实现,时spring内部的使用接口,一般不提供开发人员进行使用
IOC操作Bean管理
- 什么是Bean管理
- Spring创建对象
- Spring注入属性
- Bean管理操作有两种方式
- 基于xml配置文件方式实现
- 基于出街方式实现
IOC操作Bean管理(基于xml方式)
基于xml方式创建对象

- 在spring配置文件中,使用bean标签,标签里添加对应属性,就可以实现对象创建
- 在bean标签中有很多属性,介绍常见的属性
- id属性:唯一标识
- class属性:类的全路径(包类路径)
- 创建对象时候,默认去执行无参的构造方法
- 如果需要创建的类存在有参构造,那么默认的无参构成将不存在(除非主动添加),没有无参构造此时会报错
基于xml方式注入属性
DI:依赖注入,就是注入属性
使用set方法进行注入
- 创建类,创建属性的set方法
java
package cn.unuuc.spring5;

/**
 * 使用set方法进行注入
 */
public class Book {
    private String bName;
    private String bAuthor;

    public void setbAuthor(String bAuthor) {
        this.bAuthor = bAuthor;
    }

    public void setbName(String bName) {
        this.bName = bName;
    }

    @Override
    public String toString() {
        return "Book{" +
                "bName='" + bName + '\'' +
                ", bAuthor='" + bAuthor + '\'' +
                '}';
    }
}
** **2. 在spring配置文件配置对象的创建,配置属性的注入
xml
<?xml version="1.0" encoding="UTF-8"?>
<beans xmlns="http://www.springframework.org/schema/beans"
       xmlns:xsi="http://www.w3.org/2001/XMLSchema-instance"
       xsi:schemaLocation="http://www.springframework.org/schema/beans http://www.springframework.org/schema/beans/spring-beans.xsd">


    <!--    创建对象    -->
    <bean id="book" class="cn.unuuc.spring5.Book">
        <!--
            set方法注入属性 使用property标签
            name:类里面的属性名称
            value:向属性注入的值
        -->

        <property name="bName" value="abc"></property>
        <property name="bAuthor" value="chen weilong"></property>
    </bean>

</beans>- 测试方法
java
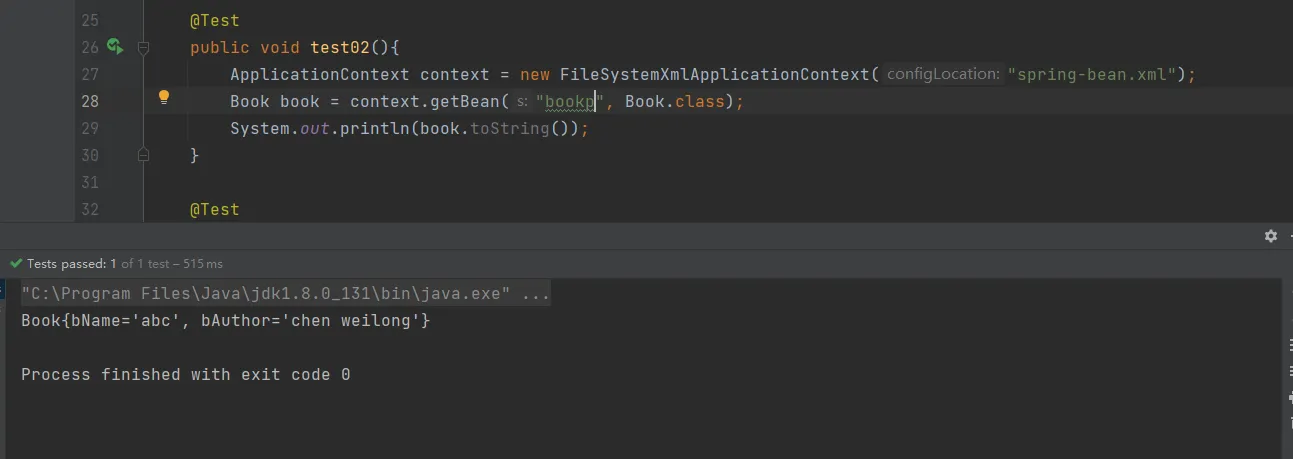
    @Test
    public void test02(){
        ApplicationContext context = new FileSystemXmlApplicationContext("spring-bean.xml");
        Book book = context.getBean("book", Book.class);
        System.out.println(book.toString());
    }
使用有参构造注入
- 创建类,定义属性,创建属性对应的有参构造函数
java
package cn.unuuc.spring5;

/**
 * 使用有参构造注入
 */
public class Orders {
    private String OName;
    private String address;

    public Orders(String OName, String address) {
        this.OName = OName;
        this.address = address;
    }


    @Override
    public String toString() {
        return "Orders{" +
                "OName='" + OName + '\'' +
                ", address='" + address + '\'' +
                '}';
    }
}- 在spring配置文件中配置
使用有参构造注入属性就 无需在通过 无参构造创建对象。
xml
<?xml version="1.0" encoding="UTF-8"?>
<beans xmlns="http://www.springframework.org/schema/beans"
       xmlns:xsi="http://www.w3.org/2001/XMLSchema-instance"
       xsi:schemaLocation="http://www.springframework.org/schema/beans http://www.springframework.org/schema/beans/spring-beans.xsd">


    <!--    使用有参构造注入属性  -->
    <bean id="orders" class="cn.unuuc.spring5.Orders">

        <constructor-arg name="OName" value="abc"></constructor-arg>
        <constructor-arg name="address" value="china"></constructor-arg>

    </bean>

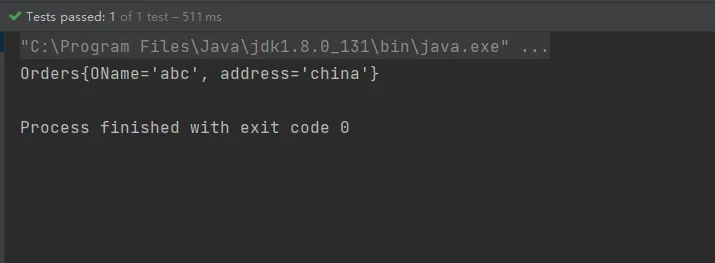
</beans>- 编写测试类
java
    @Test
    public void Test03(){
        ApplicationContext context = new FileSystemXmlApplicationContext("spring-bean.xml");
        Orders orders = context.getBean("orders", Orders.class);
        System.out.println(orders);
    }
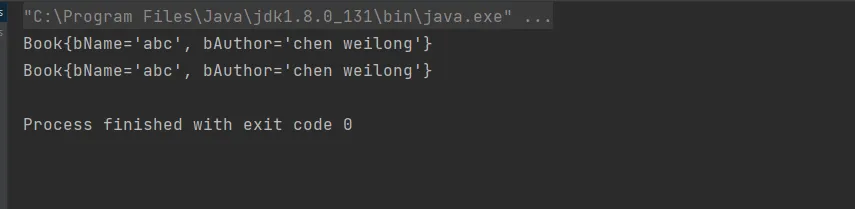
使用p名称空间注入(了解)
- 使用p名称空间注入,可以简化基于xml配置方式,使用的还是set方法
第一步,添加p名称空间在配置文件中
xml
xmlns:p="http://www.springframework.org/schema/p" 第二步,配置文件
xml
<?xml version="1.0" encoding="UTF-8"?>
<beans xmlns="http://www.springframework.org/schema/beans"
       xmlns:xsi="http://www.w3.org/2001/XMLSchema-instance"
       xmlns:p="http://www.springframework.org/schema/p"
       xsi:schemaLocation="http://www.springframework.org/schema/beans http://www.springframework.org/schema/beans/spring-beans.xsd">


    <bean id="bookp" class="cn.unuuc.spring5.Book" p:bName="abc" p:bAuthor="chen weilong"></bean>

</beans>
测试方法